Are you one of those users who is running a Dream Machine Pro or Dream Machine SE, taking advantage of teleport on your mobile device and yearning for the day Ubiquiti decides to release a Windows App? Boy, that would be nice. Wouldn’t it?
Don’t fret though, Windows has native support for VPN and works just fine. It’s not just as “just push a botton” like Teleport is. See the steps below for setting this up with Windows 10 and 11!
Configuring the VPN settings in Unifi
The first thing you need to do is prepare your UDM for VPN connections.
Step 1: Login to Unifi (https://unifi.ui.com) and go to the Network application.
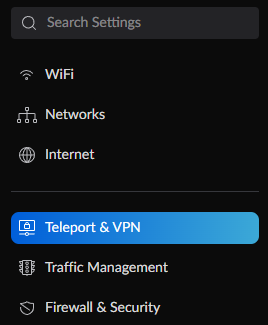
Step 2: Go to Settings > Teleport & VPN
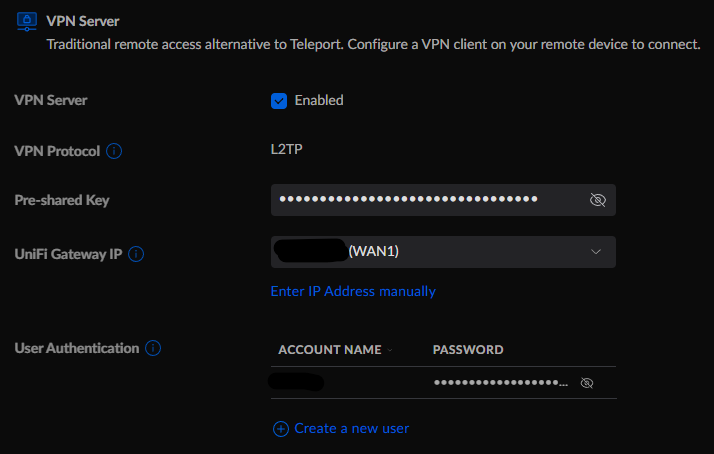
Step 3: Under “VPN Server”:
- Check “Enabled”
- Add a new user under “User Authentication”
- Take note of your IP Address***, Pre-shared Key, User and Password. You’ll need it for the Windows side of the configuration
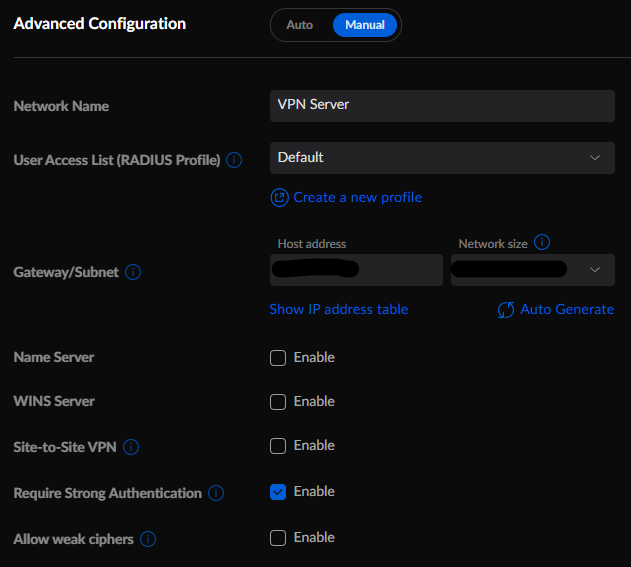
Step 4: Toggle “Advanced Configuration” to “Manual”, then enable “Require Strong Authentication”
*** Note, if you have a dynamic IP address from your ISP, this can change over time. I recommend using a service like NoIP to get dynamic DNS for your system. Take a look at my DynamicDNS post for how to set that up with UDM.
Configuring Ubiquiti VPN on Windows 11
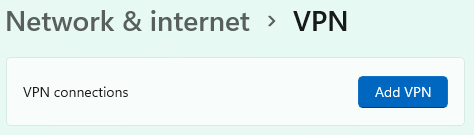
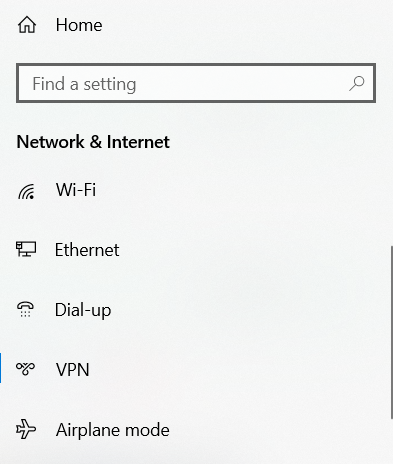
Step 1: Right click on your start menu, select Settings. Then choose Network & Internet > VPN settings

Step 2: Click “Add VPN”
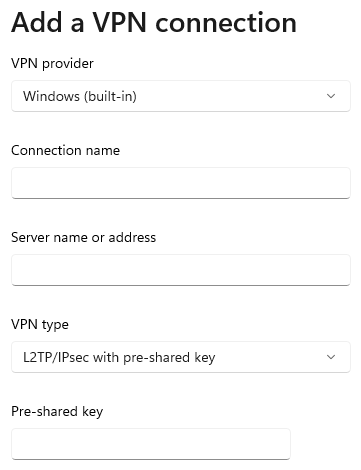
Step 3: In the resulting window, enter the following configuration details, then click Save.
- VPN Provider: Windows (built-in)
- Connection Name: Whatever you want
- Server name or address: The WAN IP address from Unifi or your dynamic DNS URL
- VPN type: L2TP/IPsec with pre-shared key
- Pre-shared key: The pre-shared key from Unifi
- Type of sign-in info: User name and password
- User name: The username you made in Unifi
- Password: The password you made in Unifi
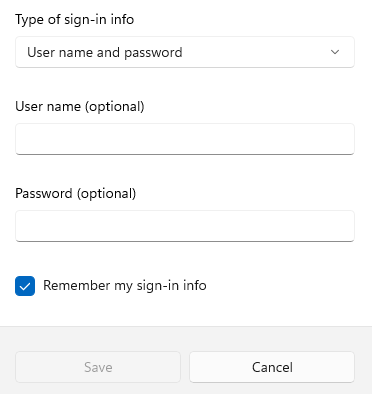
Step 4: Click connect to connect to the VPN.

Configuring Ubiquiti VPN on Windows 10
Step 1: Right click on your start menu, select Network Connections, then select “VPN”
Step 2: Click “”
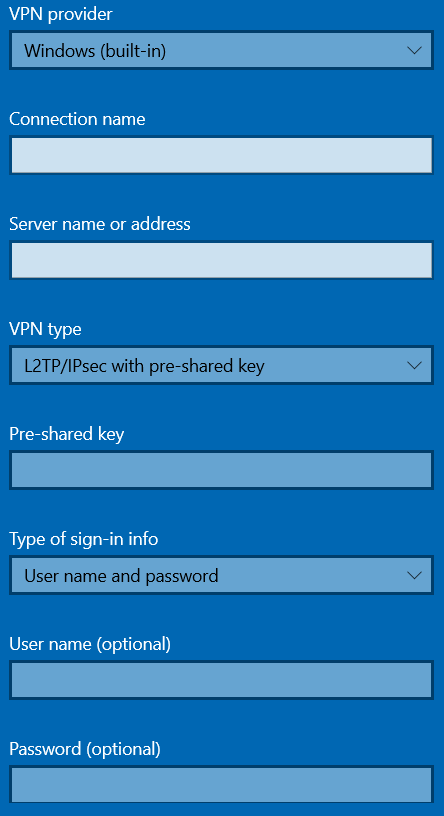
Step 3: In the resulting window, enter the following configuration details, then click Save.
- VPN Provider: Windows (built-in)
- Connection Name: Whatever you want
- Server name or address: The WAN IP address from Unifi or your dynamic DNS URL
- VPN type: L2TP/IPsec with pre-shared key
- Pre-shared key: The pre-shared key from Unifi
- Type of sign-in info: User name and password
- User name: The username you made in Unifi
- Password: The password you made in Unifi
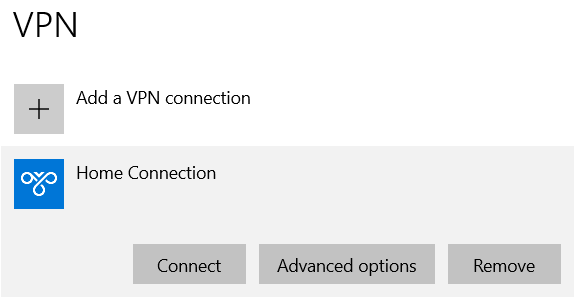
Step 4: Select your new connection and click “Connect”
That’s not teleport, just to be clear, it’s a L2TP vpn, while teleport uses wireguard.
Thanks Steve. Yep, I misspoke. I’ve corrected the post!
The router is behind another router. I have tried with both LAN addresses with no luck. I might be able to ask the owner of the first router to forward one port.
Any tips!
@Thomas – Sorry for the severe lack of response. I wasn’t getting notified when people comment, but I’ve fixed that. Hopefully you figured this out. My initial thought is that you need to make sure you have port forwarding enabled so that the traffic gets through the first router and is passed to the UDM.
With that said, why is the UDM nested behind another router? That’s a less than idea architecture.